How To Fit A Shower Screen in 3 Steps!
When you’re installing a new shower screen, it’s important to make sure that everything is done correctly in order to avoid any leaks. In this blog, we will walk you through the steps of how to fit a shower screen properly.
Before You Start
Before you get started, there are several factors to consider when fitting a shower screen. It’s essential to measure the space you have available in your bathroom and select a shower screen that will fit. You should also check that the material of your chosen shower screen is compatible with the other materials in your bathroom, such as tiles or flooring.
Are Professional Plumbers Essential?
When you’re installing a shower screen, it’s essential to do it the right way so that you don’t have any leaks. You might be able to do it yourself, but if you’re not confident, it’s a good idea to have a professional plumber do the job. They’ll know how to do it properly and they’ll also make sure that everything is done correctly so that you don’t have any problems with your plumbing system in the future.
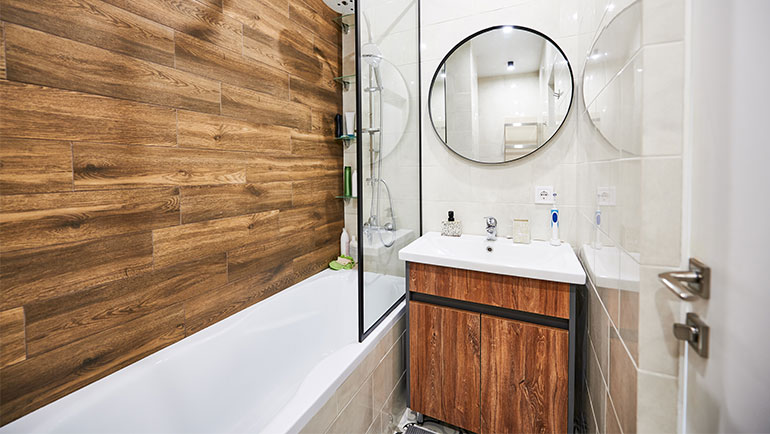
Removing Your Older Shower Screen
Removing an old shower screen can be a tricky task, as it requires careful and precise measurements to ensure the new one is fitted correctly. The most important factor to consider is how the old shower screen was initially installed. If it was attached with screws to a metal wall channel, you will need to first remove the glass panel from the metal wall channel. This can be done by unscrewing any screws that are attaching the channel to the wall and removing them using a drill. Once these have been removed, you should be able to easily remove the sealant and take the channel off the wall.
Step 1
First, you will need to mark up the wall channel. This is the part that holds the glass panel in place and needs to be fixed securely on to the wall. Use a spirit level to check that it’s level before drilling any holes. Once everything is marked up correctly, drill your pilot holes and then attach the channel using screws or wall plugs, depending on what type of wall surface you have.
Step 2
Next, fit your glass panel into the wall channel by making sure all four edges are secure. If you’re having trouble getting it in place, use a rubber mallet or a hammer set at a low setting to gently tap the corners until they fit snugly.
Step 3
Once this is done, fit the bracing bar. This is used to reinforce the glass panel and should be closely monitored for any adjustments that need to be made. Finally, it’s time to seal around all the edges with silicone sealant so that no water can get through.
Now you know how to fit a shower screen correctly! By following these steps carefully, you’ll have your shower screen looking great in no time at all. Good luck!
Should I Consider Different Types of Bath Screens?
Yes, you should consider different types of bath screens when installing a new shower screen in your bathroom. Different types of bath screens can have different features and designs that may be best suited for your particular space and needs.
Bath screens come in many varieties, ranging from framed to frameless models. Framed models are typically supported by metal frames that are connected to the walls and ceiling, while frameless models are typically made of solid glass panels. Some bath screens also feature hinges, allowing them to be opened and closed easily when needed.
Finally, make sure to check if any additional tools are needed for installation. For example, some framed models may require special screws or wall plugs in order to be secured properly.